

Do you remember the smell of the school cafeteria? The buzz of chatter was always there. And then, there was that one snack that made lunchtime special. For many, lunch lady peanut butter bars were that snack.
They had crispy edges, creamy peanut butter, and a rich chocolatey top. It’s more than a treat; it’s a hug in a bite. Ready to recreate that magic? Let’s get baking.
Table of Contents
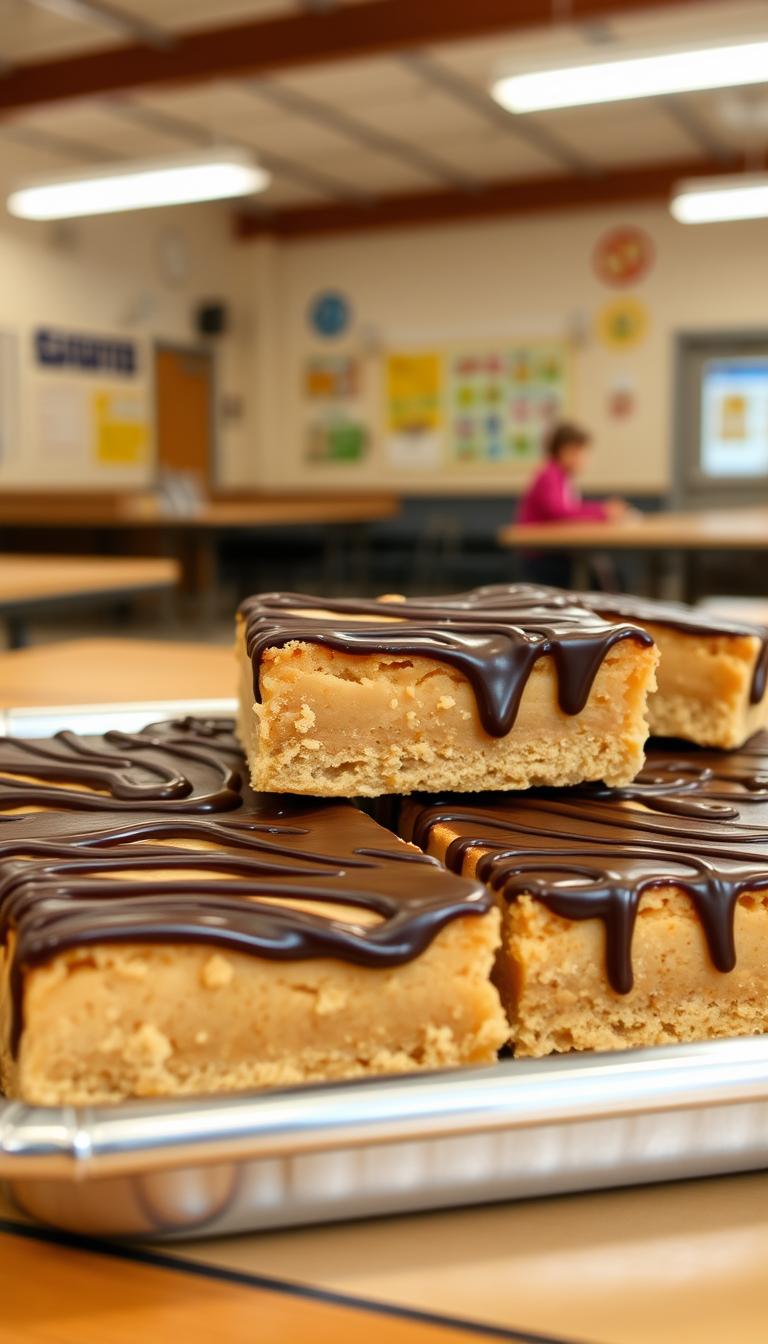
These aren’t just any cookies. They’re a love letter to childhood nostalgia. Packed into a recipe so simple, even a cafeteria line could handle it. With just three main layers, you’ll rediscover the flavors that made school lunches special.
Key Takeaways
- Brings back cherished school-day memories through classic flavors.
- Easy-to-follow recipe with minimal ingredients and steps.
- Uses pantry staples like peanut butter, butter, and chocolate.
- Perfect for sharing with family or taking to potlucks.
- Customizable with optional additions like sprinkles or extra chocolate.
Welcome to Your Tasty Treat Adventure
Step into a world where every bite brings back happy memories. This journey starts with crafting a peanut butter cookie base that’s both nostalgic and new. Whether you’re a baking novice or a seasoned chef, this recipe promises fun and flavor.
Imagine mixing creamy peanut butter, warm spices, and golden brown sugar—all ingredients that spark joy in the kitchen.
Every spoonful of your peanut butter cookie base holds potential. You’ll discover how simple steps turn ordinary ingredients into something extraordinary. This isn’t just a recipe—it’s a ticket to revisiting childhood favorites with modern twists.
From mixing to baking, each phase is designed for success. Ensuring your creation becomes a family favorite. Ready to begin? Let’s make magic in your kitchen!
A Trip Down Memory Lane: The Story Behind These Nostalgic Treats
Who hasn’t longed for a taste of the past? These bars bring back the happiness of childhood school days. The chocolate buttercream topping adds a creamy layer, just like the treats we loved in school.
Childhood Memories
Think of the crunch of a peanut butter cookie base with silky chocolate buttercream on top. It’s like finding a surprise in your lunchbox. The chocolate buttercream topping isn’t just frosting—it’s a flavor that takes you back. It reminds us of the warmth of school moments, like recess snacks or after-school rewards.

School Cafeteria Inspirations
School cafeterias made simple ingredients into comfort food. These bars follow that tradition, mixing nostalgia with modern treats. The chocolate buttercream topping makes the classic peanut butter base even better. Every bite is a story of shared meals and finding old favorites again.
Gathering Ingredients for Your Delicious Creation
Ready to make that school cafeteria desserts flavor at home? Let’s start with the basics. Every great treat needs the best ingredients. Think back to those days in the lunch line—those peanut butter delights weren’t just tasty; they were built from reliable staples. Now it’s time to pick your favorites.
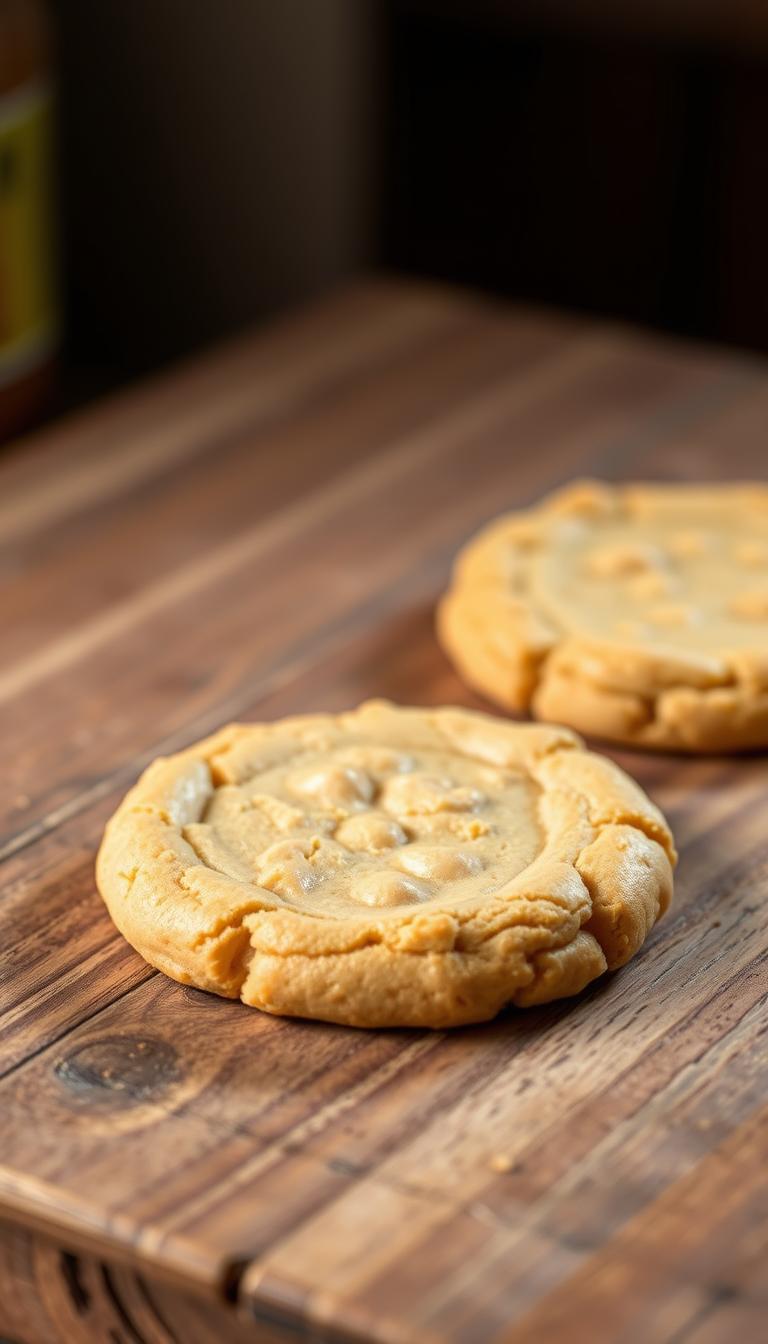
Quality Peanut Butter
Choosing the right peanut butter is key. Go for creamy or crunchy styles like Jif or Skippy. Try to avoid added sugars for a classic taste. Natural brands like Teddie offer a smooth, nostalgic texture perfect for these treats.
Peanut Butter Cookie Base Essentials
| Ingredient | Role |
|---|---|
| All-purpose flour | Structure and stability |
| Brown sugar | Moisture and caramel notes |
| Baking soda | Rising power for texture |
Decadent Chocolate Buttercream Topping
Finish it off with a rich buttercream. Use high-quality cocoa powder like Ghirardelli and Land O’Lakes butter for that melt-in-your-mouth finish. A touch of salt balances sweetness, just like those school cafeteria desserts you craved as a kid.
Step-by-Step Guide to Baking Perfection
Turn your kitchen into a place of old-time memories with these easy steps. Whether you’re new to baking or have lots of experience, these tips will make every bite of your nostalgic treats perfect.
Prepping Your Ingredients
- Measure peanut butter and sugars precisely—no guessing!
- Bring butter to room temperature for smoother mixing.
- Line a 9×13-inch pan with parchment paper for easy cleanup.
Baking Process Unveiled
- Preheat oven to 350°F (175°C) while you mix dry and wet ingredients separately.
- Combine all components, then spread batter evenly in the pan.
- Bake for 20-25 minutes until edges are golden brown.
Finishing Touches for Extra Flavor
Once cooled, drizzle with chocolate buttercream for that iconic look. Add crushed peanuts for a texture boost. These small tweaks make your nostalgic treats even more memorable.
Patience is key—let layers set completely before cutting. Now, savor that childhood vibe with every bite!
Essential Tips for Flawless Texture and Flavor
Mastering the easy peanut butter bars recipe starts with these simple tricks. Follow them to ensure your creation is as tasty as possible.
- Temperature matters: Use peanut butter and butter at room temperature. This ensures smooth mixing and even texture.
- Don’t overmix: Stir ingredients until just combined. Overmixing can make the base tough, ruining the classic chewy bite.
- Bake to golden perfection: Check for doneness with a toothpick. The edges should be lightly golden but not burnt.
- Cool completely: Let the bars rest 2-3 hours before cutting. This prevents crumbling and keeps the layers intact.
These tips turn your easy peanut butter bars recipe into a crowd-pleaser. Small details like ingredient temperature and baking time mean big differences in taste and texture. Stick to these steps for a treat that’s as easy as it is delicious!
Creative Twists to Elevate Your Treats
Want to make your dessert bars recipes stand out? Try adding your own special touches. Whether you love strong flavors or need to make them healthier, these ideas will help. They turn simple treats into something truly special.
Flavor Boosters
- Add a pinch of flaky sea salt to the chocolate layer for a sweet-savory balance.
- Stir in a teaspoon of vanilla extract or a dash of cinnamon into the batter for deeper flavor.
- Top with crushed pretzels or a drizzle of caramel sauce before baking.
Ingredient Substitutions
Make your dessert bars recipes fit your taste:
- Swap peanut butter for almond or cashew butter in the base for a nutty twist.
- Use coconut oil instead of butter for a dairy-free option in dessert bars recipes.
- Opt for dark chocolate chips in the frosting for a richer taste or Enjoy Life vegan chocolate for plant-based diets.
Small changes can lead to big results. Your creativity is the only limit!
Serving Ideas and Presentation Tips
Make your Lunch Lady Peanut Butter Bars a hit with these creative serving ideas. Whether it’s a party or a family get-together, how you present matters. Here’s how to wow your guests with both looks and taste:
Party-Ready Platings
- Cut bars into small squares and arrange them on a rustic wooden board with fresh berries and mint sprigs.
- Stack layers of bars in a clear glass vase for a modern, colorful display.
- Place individually wrapped bars in gift boxes tied with twine for a personalized touch.
Pairing with Your Favorite Beverages
| Beverage | Why It Works | Suggested Brands |
|---|---|---|
| Cold brew coffee | Bitterness balances peanut butter richness | Stumptown, Blue Bottle |
| Earl Grey tea | Citrus notes highlight chocolate layers | Harney & Sons, Twinings |
| Sparkling lemonade | Fizziness cuts through sweetness | La Croix, Reed’s |
For a presentation tip, serve bars on mirrored trays to add elegance. Let guests add their own toppings like crushed pretzels or sea salt. The best presentation is one that looks great and tastes even better!
Smart Storage and Leftover Strategies
Want your Lunch Lady Peanut Butter Bars to stay fresh and tasty? Proper storage keeps every bite delicious. Let’s explore easy ways to keep your treats fresh and creative uses for leftovers.
- Pantry: Store in an airtight container at room temperature for 3-4 days.
- Refrigerator: Keep for up to a week to slow moisture absorption.
- Freezer: Wrap tightly in foil and place in a freezer-safe bag for 2-3 months. Thaw at room temperature before serving.
Leftovers? Get creative with these ideas:
- Break into pieces and mix into yogurt or oatmeal.
- Grind into crumbs for coating chicken or fish.
- Top ice cream for a sweet crunch.
| Storage Method | Time Frame | Best For |
|---|---|---|
| Pantry | 3-4 days | Quick snacks or gifting |
| Refrigerator | 5-7 days | Moisture-sensitive batches |
| Freezer | 2-3 months | Long-term saving |
With these tricks, you’ll enjoy every last bite without waste. Adjust portions next time using your leftovers’ popularity!
Savoring Every Bite: Enjoying Your Lunch Lady Peanut Butter Bars
Now that your creation is ready, it’s time to enjoy these gooey, crunchy treats. These bars aren’t just a dessert—they’re a way to celebrate everyday joys and special moments. Let your taste buds relish the blend of salty and sweet flavors.
Perfect Occasions to Indulge
- Pair them with coffee for a midday pick-me-up.
- Serve them at birthday parties as a nostalgic dessert option.
- Enjoy a slice during movie nights for a comforting snack.
Sharing with Loved Ones
These bars shine brightest when shared. Wrap a batch in parchment paper tied with a bow for a neighbor or coworker. Take them to family gatherings where everyone will recognize their familiar, comforting taste. Kids will love helping you bake them, making it a fun activity for rainy afternoons.
Sharing these bars is more than dessert—it’s a way to connect. Their creamy texture and nostalgic appeal make them a hit at potlucks or holiday dinners. Let every bite remind you of school cafeteria days while creating new memories today.
Conclusion
Ready to make Lunch Lady Peanut Butter Bars? Start by mixing creamy peanut butter and cookie crumbs. Bake and frost them to savor a classic flavor. These bars are more than a dessert—they’re a connection to childhood memories.
Perfect for family dinners or weekend snacks, they’re easy to make and share. Add extras like chocolate chips to make them unique. Store leftovers to enjoy later. Whether baking for a crowd or a quiet night, these homemade treats are a fun project.
Share them with friends and relive nostalgic moments. Next time you crave something sweet, try this recipe. These bars mix tradition with homemade goodness—your family will love every bite!
1 thought on “Delicious Lunch Lady Peanut Butter Bars”
Comments are closed.