

Introduction: The Ultimate Cookie Transformation Journey

Table of Contents
Are you tired of disappointed faces when your peanut butter cookies turn out dry, crumbly, or lacking that perfect balance of flavor? Welcome to the definitive guide that will transform your baking skills and elevate your Paula Deen Peanut Butter Cookies from ordinary to extraordinary. As a passionate baker with years of experience, I’ve decoded the secrets that make these cookies absolutely irresistible.
The Magic Behind Paula Deen Peanut Butter Cookies
Peanut butter cookies are more than just a sweet treat – they’re a culinary art form that requires precision, passion, and a few insider tricks. Paula Deen’s recipe isn’t just another cookie recipe; it’s a time-tested method that guarantees delicious results every single time.
Why These Cookies Are a Cut Above the Rest
- Foolproof Technique: Even novice bakers can achieve professional-level results
- Consistent Flavor: A perfect balance of sweet and nutty
- Versatile Recipe: Adaptable to various dietary needs and flavor preferences
- Quick Preparation: From pantry to plate in under 30 minutes
- Crowd-Pleasing Potential: Guaranteed to impress at any gathering
The Science of Perfect Peanut Butter Cookies
Understanding the chemistry behind cookie baking is crucial. The interaction between ingredients, temperature, and technique determines whether you’ll create a masterpiece or a mediocre batch.
Ingredient Breakdown
The Peanut Butter Principle
The star of our show is, undoubtedly, the peanut butter. Not all peanut butters are created equal. For Paula Deen Peanut Butter Cookies, we recommend:
- Creamy, smooth peanut butter
- Full-fat varieties
- Avoid natural separating peanut butters (they’ll impact texture)
Fat Content Matters
The delicate balance of butter and peanut butter creates the cookie’s signature texture:
- Unsalted butter provides structure
- Peanut butter adds moisture and intense flavor
- Room temperature ingredients ensure even mixing
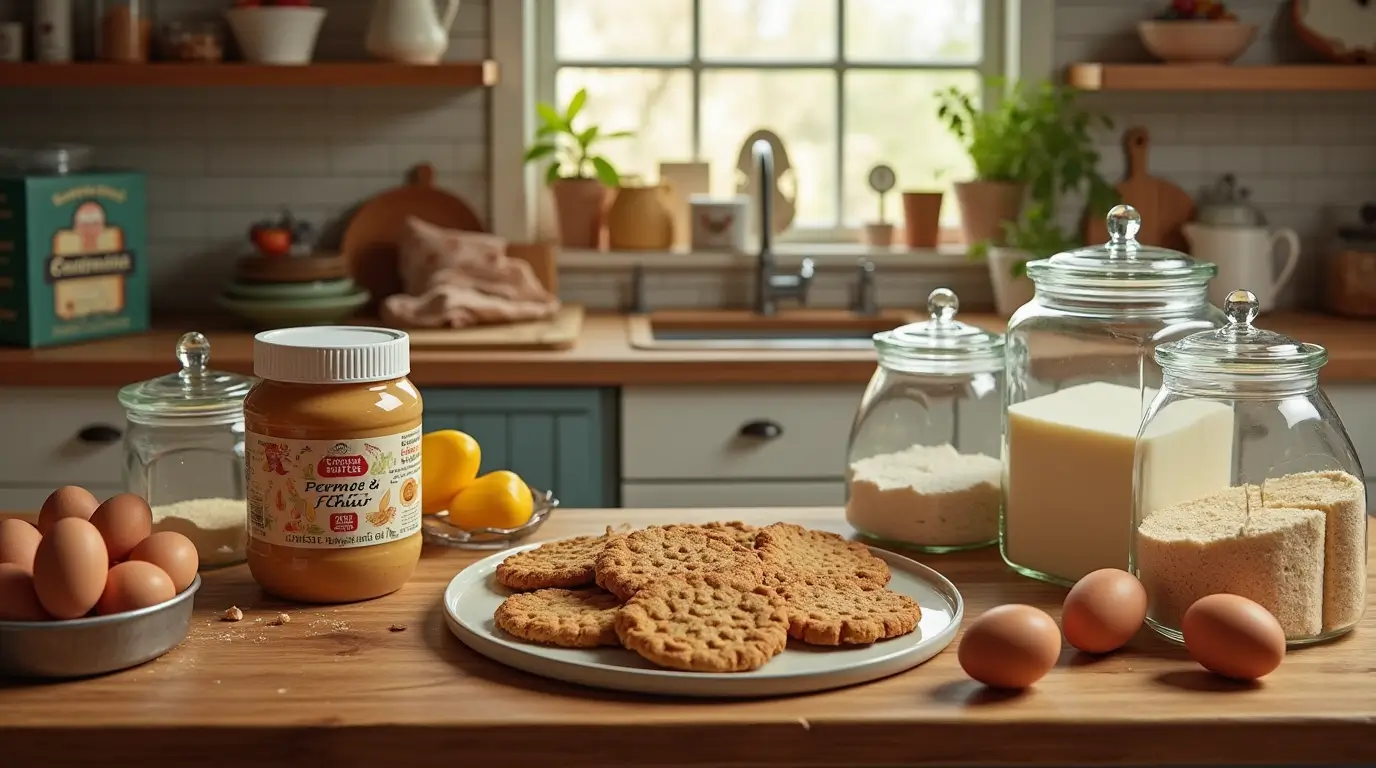
Choosing the Right Ingredients
Essential Pantry Checklist
- Peanut Butter
- Creamy, commercial-style
- Avoid natural, oil-separated varieties
- Prefer brands with stable consistency
- Butter
- Unsalted, room temperature
- High-quality butter impacts flavor significantly
- Allow to soften naturally (never microwave)
- Sugars
- Combination of granulated and brown sugar
- Brown sugar adds moisture and depth
- Creates beautiful caramelization
- Flour
- All-purpose flour
- Measure precisely
- Sift to remove lumps
- Eggs
- Large, room temperature
- Provides binding and richness
- Ensure fresh eggs for best results
Ingredient Quality Recommendations
- Use fresh ingredients
- Check expiration dates
- Store ingredients properly
- Invest in high-quality brands
Preparation Techniques: From Mixing to Baking
The Perfect Mixing Method
- Cream Butter and Sugars
- Use electric mixer
- Beat until light and fluffy
- Creates air pockets for tender cookies
- Incorporate Peanut Butter
- Mix thoroughly
- Ensure even distribution
- Scrape sides of bowl
- Add Eggs and Vanilla
- One at a time
- Mix completely between additions
- Vanilla enhances overall flavor
- Dry Ingredient Integration
- Sift flour, baking soda, salt
- Add gradually
- Mix until just combined
- Avoid overmixing
Chilling: The Secret Weapon
- Refrigerate dough for 30-60 minutes
- Prevents spreading
- Intensifies flavor
- Improves texture
Baking Techniques: Precision is Key
Oven Preparation
- Preheat to exactly 350°F
- Use oven thermometer for accuracy
- Middle rack ensures even baking
Shaping Techniques
- Use cookie scoop for uniform size
- Create classic crisscross pattern with fork
- Leave 2 inches between cookies
Baking Timeline
- 10-12 minutes total
- Edges should be slightly golden
- Center might look slightly underbaked
- Cookies continue cooking on baking sheet
Pro Baking Secrets
- Temperature Control
- Room temperature ingredients
- Consistent oven temperature
- Use light-colored baking sheets
- Moisture Management
- Don’t overbake
- Allow cookies to cool on baking sheet
- Transfer to wire rack after 5 minutes
- Storage Wisdom
- Cool completely before storing
- Use airtight container
- Layer with parchment paper
- Stays fresh 5-7 days
Flavor Variations: Unleash Your Creativity
Classic Modifications
- Add chocolate chips
- Sprinkle sea salt
- Mix in chopped nuts
- Create sandwich cookies
- Experiment with cinnamon
Dietary Adaptations
- Gluten-free flour options
- Reduced sugar variations
- Vegan substitutions
Troubleshooting Common Issues
Texture Problems
- Dry cookies: Reduce baking time
- Spreading issues: Chill dough longer
- Tough texture: Mix less
Ingredient Substitutions
- Natural peanut butter: Add extra flour
- Alternative sugars: Adjust moisture
- Egg replacements available
Serving and Presentation
Pairing Suggestions
- Cold milk
- Coffee
- Vanilla ice cream
- Hot chocolate
Gifting Ideas
- Decorative tins
- Cookie gift boxes
- Vacuum-sealed packaging
Nutritional Considerations
Approximate Nutrition (per cookie)
- Calories: 120-150
- Protein: 3-4g
- Fat: 7-9g
- Carbohydrates: 12-15g
Frequently Asked Questions
- Can I freeze the dough?
- Yes, up to 3 months
- Wrap tightly in plastic
- Thaw in refrigerator
- How long do cookies stay fresh?
- 5-7 days in airtight container
- Room temperature storage
- Avoid humid environments
- Can I use natural peanut butter?
- Possible with adjustments
- Add extra flour
- Expect slight texture variation
Conclusion: Your Baking Transformation Starts Now
You’re now equipped with the ultimate guide to creating Paula Deen Peanut Butter Cookies that will make you the star baker in your circle. Remember, baking is part science, part art, and entirely about passion.
The secrets are now yours – creamy, perfectly textured, irresistibly delicious cookies await. Whether you’re a beginner or a seasoned baker, these techniques will elevate your cookie game to professional levels.
So preheat that oven, gather your ingredients, and get ready to create magic. Your journey to becoming a Paula Deen Peanut Butter Cookies master starts right now!
Happy Baking!